 HeLLo☆
How is your weekend??
I slept very well on this weekend. I thought I need a rest because I had very busy days for work in last two weeks, so I decided I'll be very lazy on this weekend.lol
Today, I wanna show you new two kinds of new B.B creams which are special gift from my friend
Kathy. I tried both of them and I wanna introduce you how those B.B creams works on my skin.
She sent to me this two nice B.B creams for me.
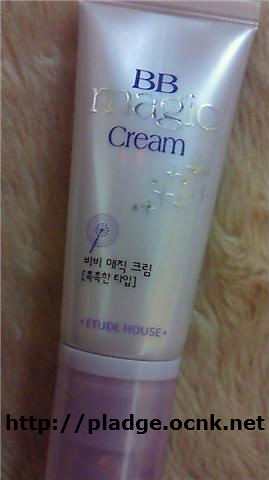 ☆Magic Cream.☆
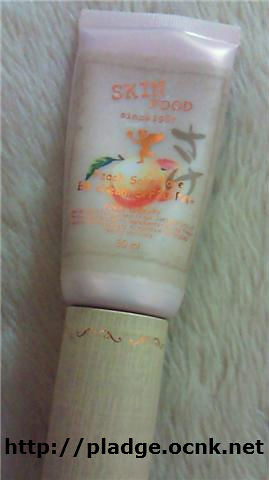 ☆Peach Sake B.B cream.☆
The Peach one is very good smell and both of packages are so Cute!!
OK, Let's try on my skin.
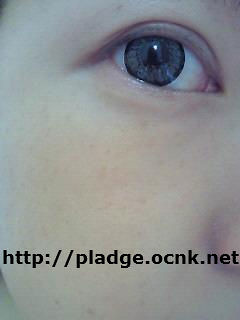
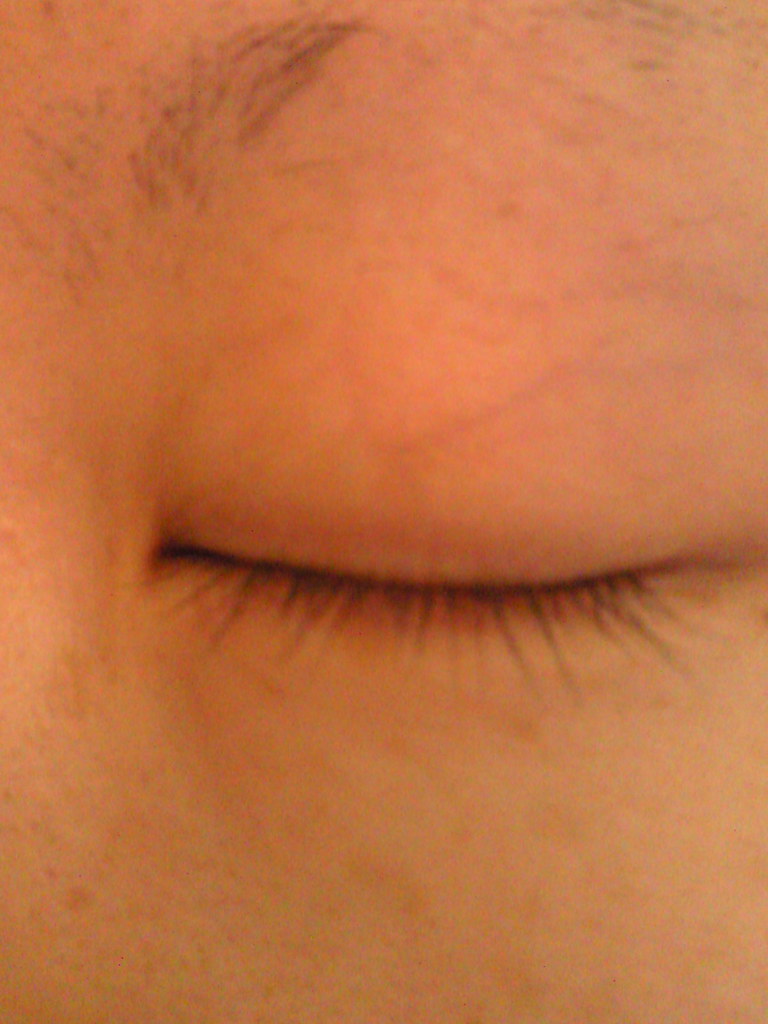
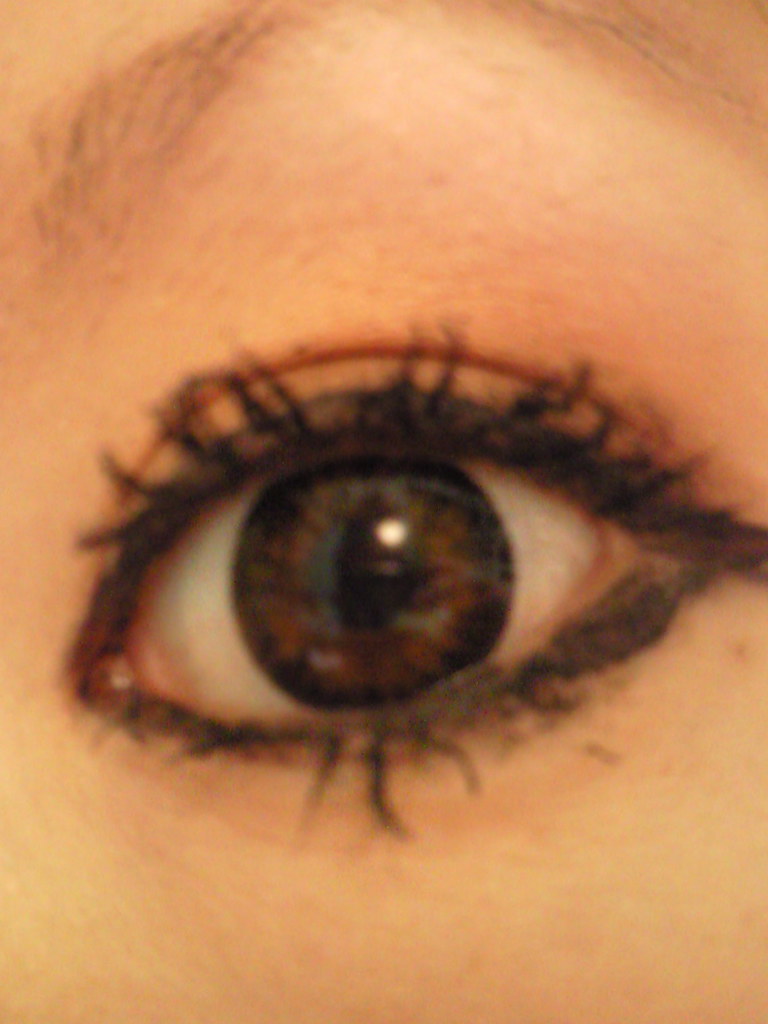
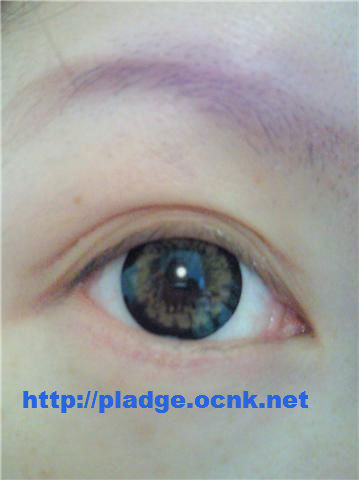
Here is my SUPPIN.(without no make-up.)lol
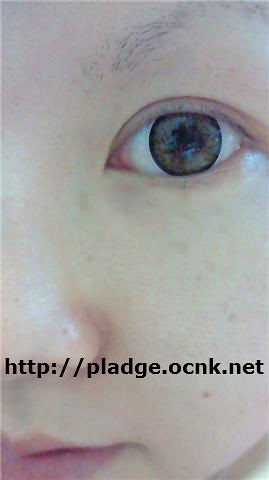
You can see many freckle.(T_T)
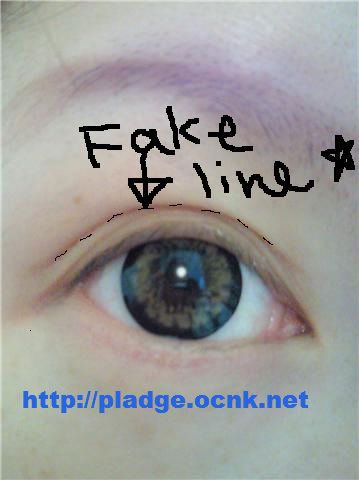
I tried Magic Cream first.

Because of the lighting of picture, my skin looks little darker than first, but some of freckle are
disappeared and my skin looks matte than before.
This cream also grows very well, easy to spread on my skin.
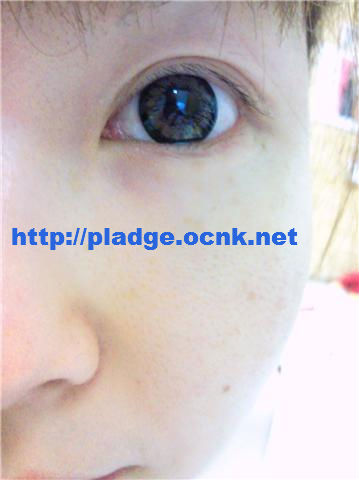
Then, I tried Peach Sake Cream over the first one.
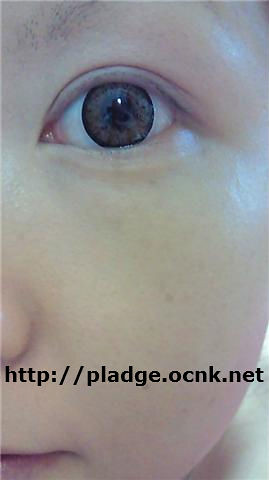
Look at this great result!
Most of the freckle are disappeared and my skin looks more light and matte.
I didn't put powder on it yet in this picture, but almost enough clear.
As I told you first, this cream smells very nice( sweet peach smell.) so it makes my make-up time fun and comfortable.
I tried one more thing,
I mixed Peach Sake cream and my B.B cream which I use daily.(Sorry for smaller picture.)
I really like this result too. Getting more natural color for my skin.
Honesty, I usually don't buy and try many kinds of base cosmetics, I always use same creams and powder, so my base make-up is always same and never improved. However Kathy gave me great chance to try new make-up and now I also want to put more emphasis on base make-up in the future.
Thank you Kathy!!
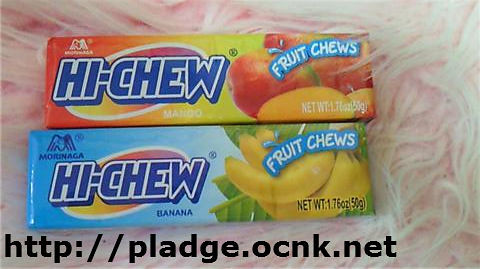
She also sent me my favorite candies.Hi-Chew from Hawaii.
I've never seen those flavors in Japan before...Banana and Mango!!
 Today
Today, I bought a top after a long time.
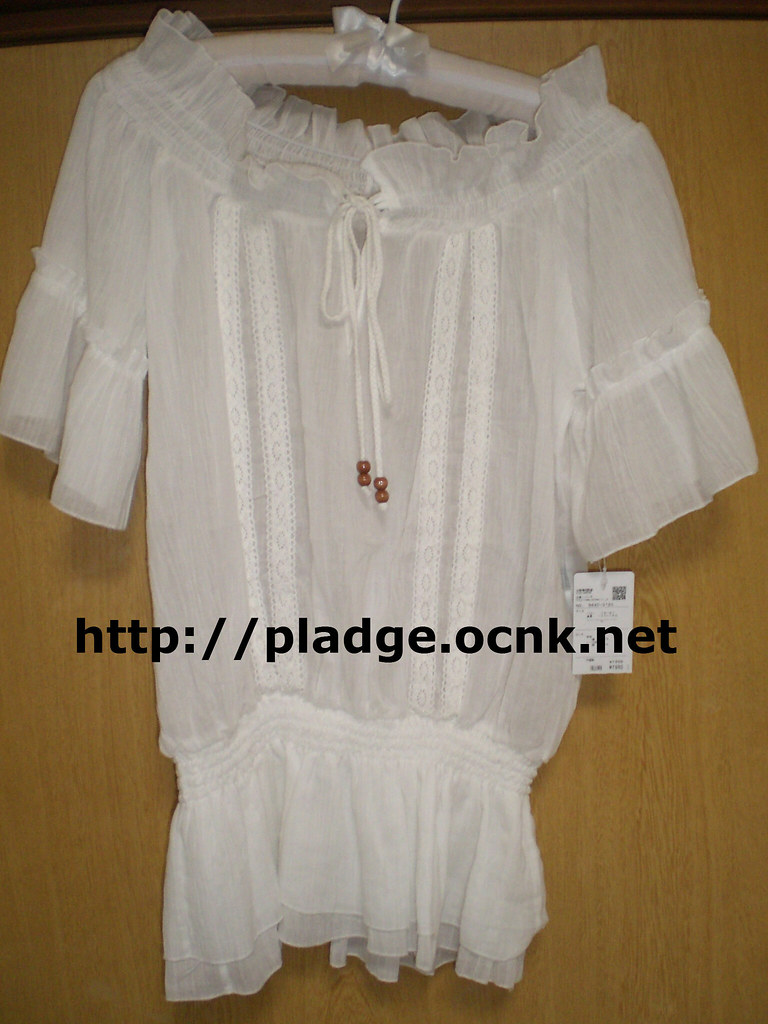
I was looking for this shirt for this summer, so I was so exited when I found this with very good
deal. It was only 1,900yen.
I will wear this with denim short skirt. However this shirt's material is so thin and seen through, so I should have inner when I wear it.
The biggest problem is I have no large mirror in my house...It's very difficult to take good pictures of my coordinates without it. that's why I cannot update my style. I should think about that.((+_+))
Now I'm getting be ready to go bed.
Maybe I'll play NINTENDO DSi in my bed before falling asleep.
Thank you for reading my blog today too.
I hope all you have a great day.☆
I'm always happy to read your comments and questions and I also love to visit your blog too.

Shihoco.

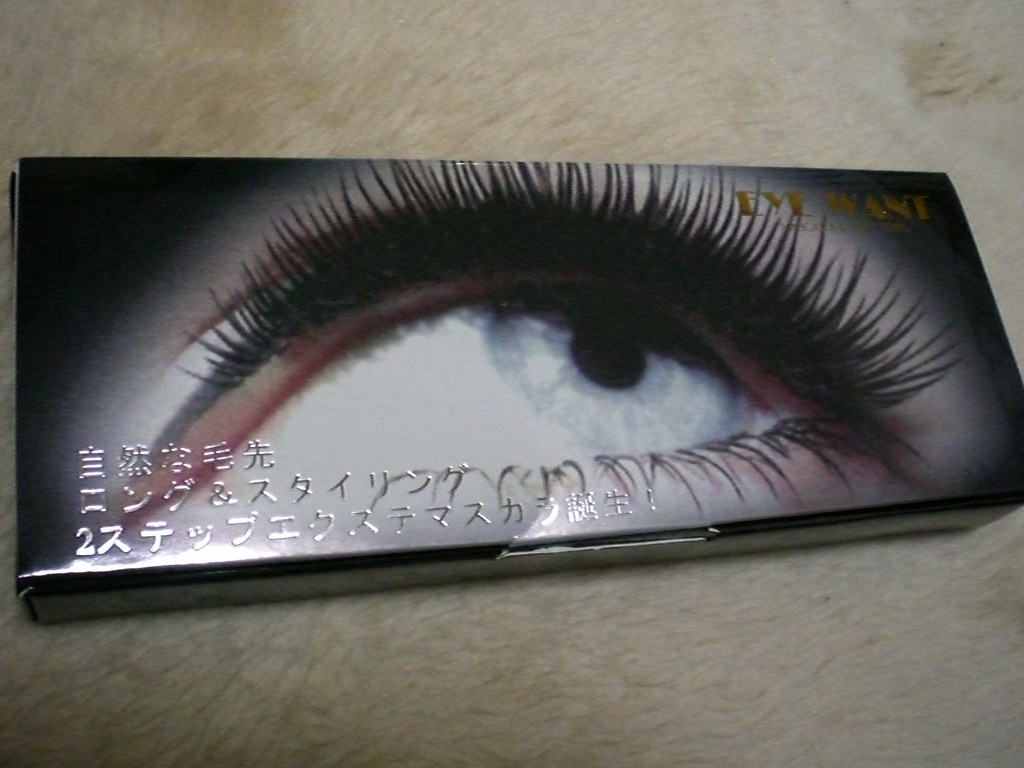
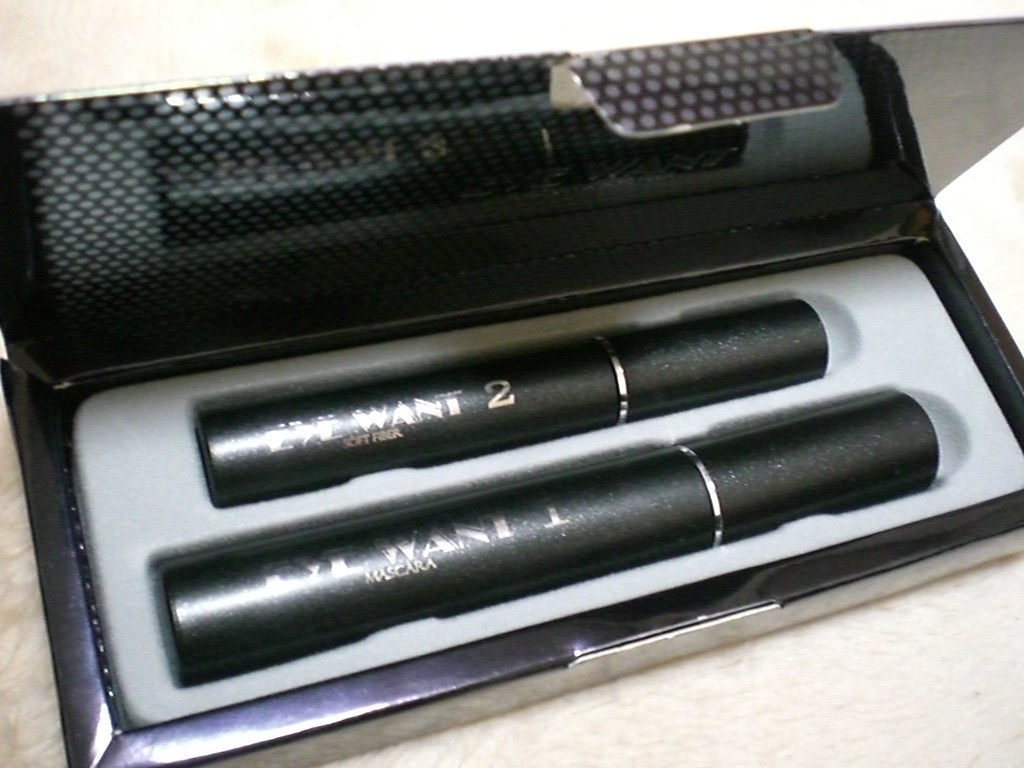
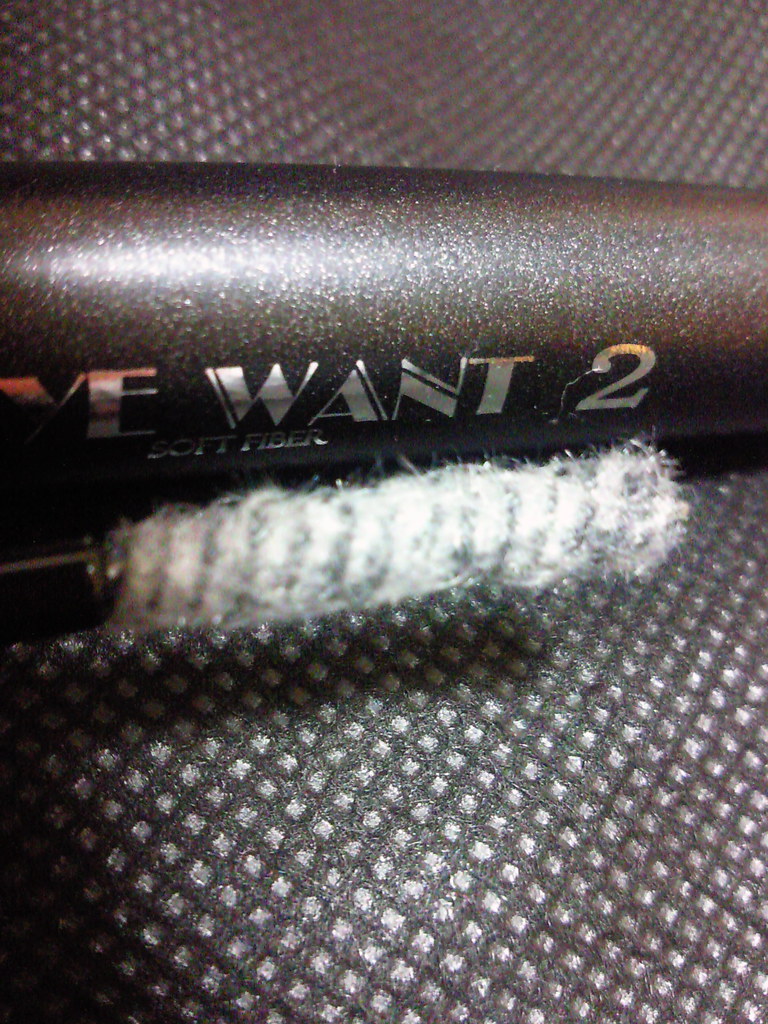
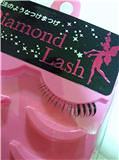
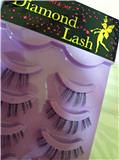
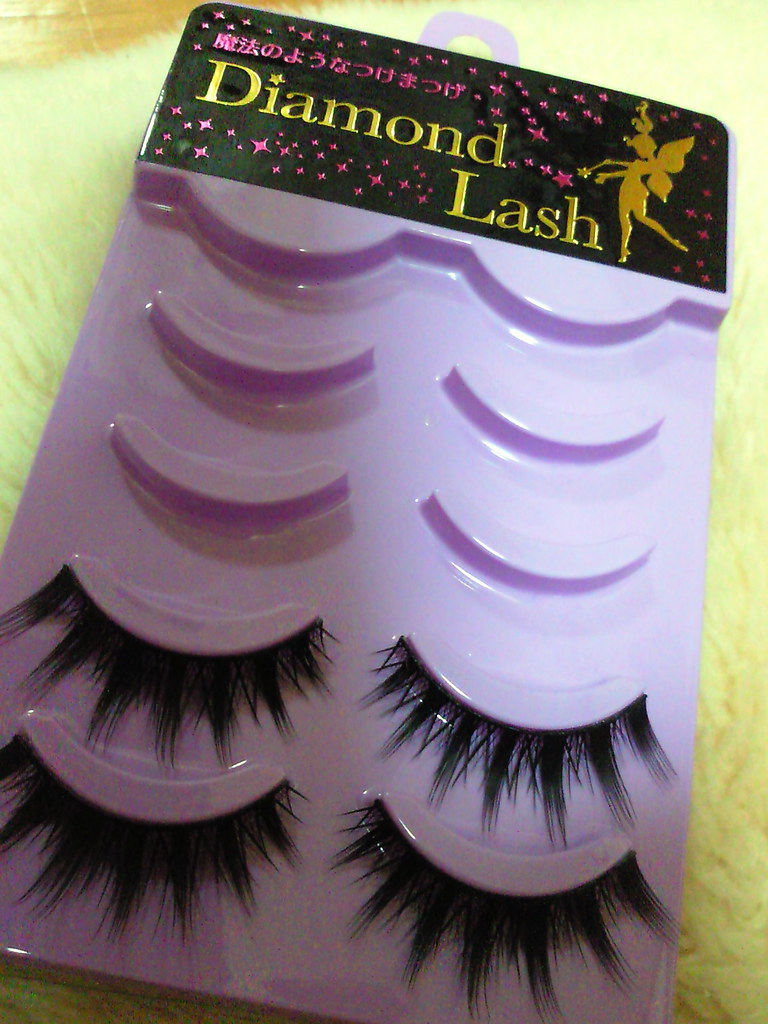
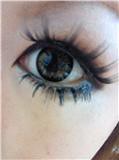
 ①Cut and Separate for two pieces. (Separate for Last 4 pieces of thick part and the other slight lashes part.)
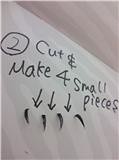 ②Cut thick pieces again and make them for 4 pieces.
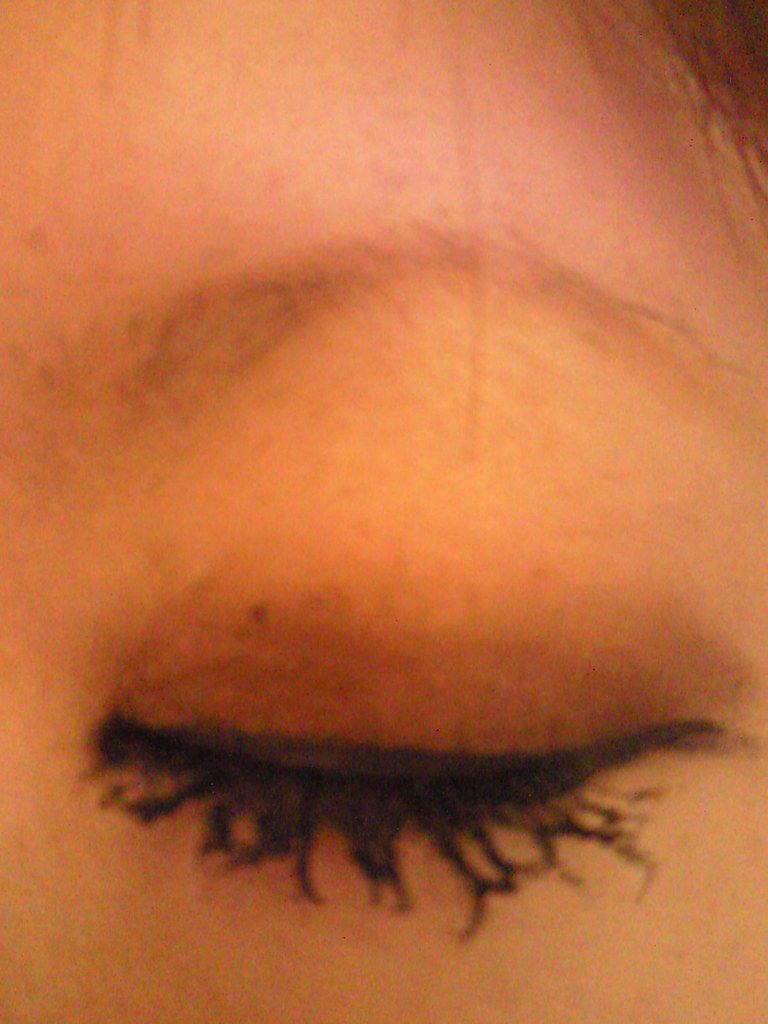
 ③Put back the small 4 pieces which are made at process ② to the slight part. You can put them back by your favorite balance.
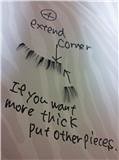
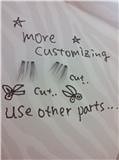 ⑤For more customizing,
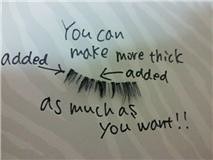

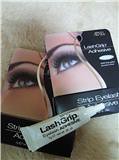 *I always use this glue, it works really great for my false eye lashes. You can check from


.jpg)